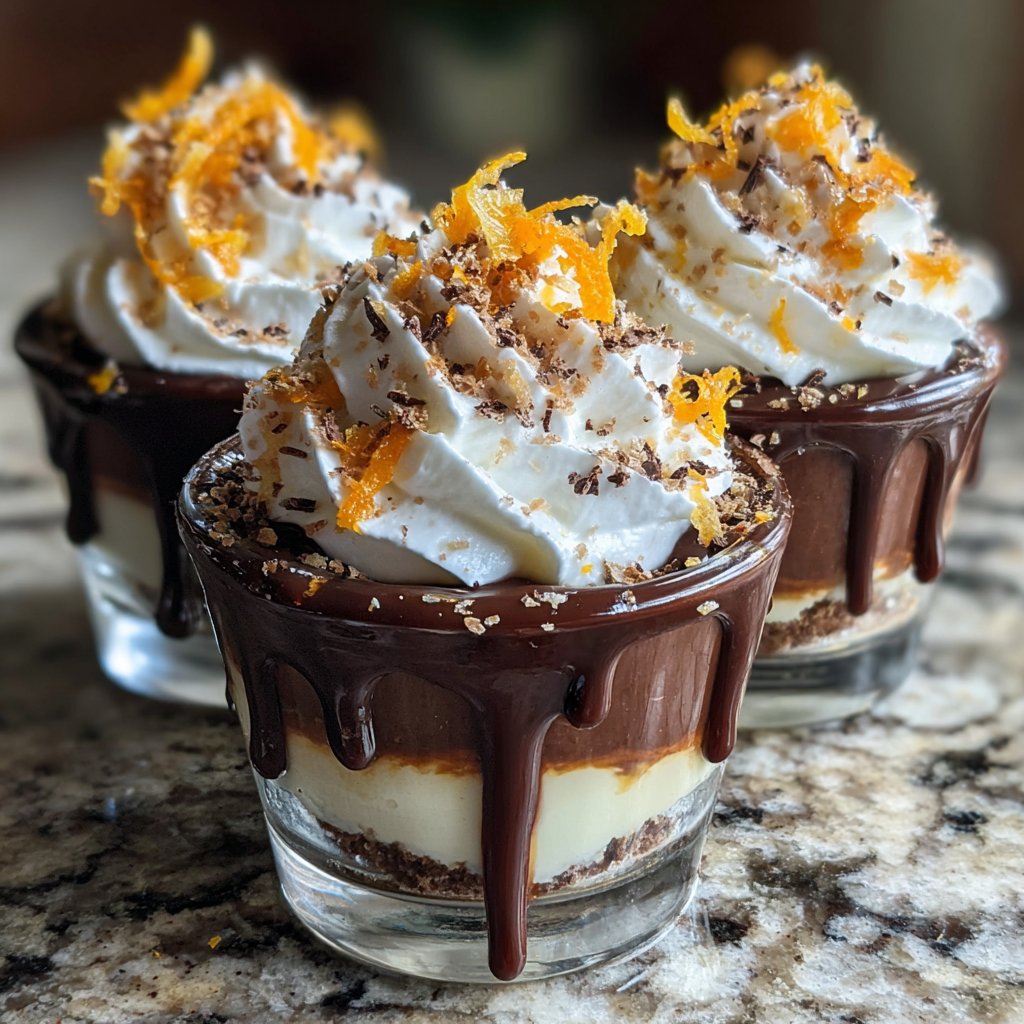
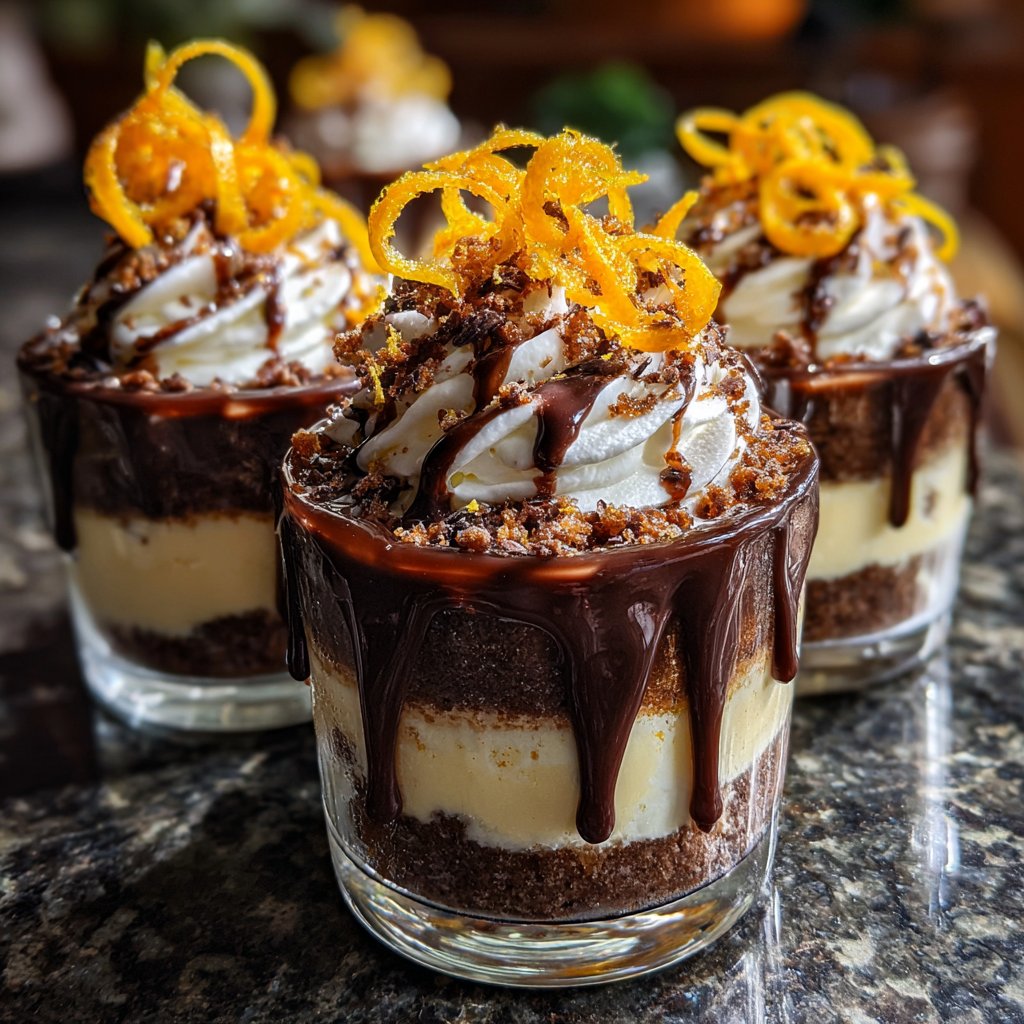
Choco-Orange Dream Cake Cups
Highlighted under: Desserts & Sweets
I absolutely adore desserts that combine rich chocolate with a hint of citrus, and these Choco-Orange Dream Cake Cups are no exception! The velvety chocolate cake, accented by citrusy orange zest, creates a delightful balance of flavors. Each bite is a dreamy experience, and the best part is how easy they are to assemble. Whether you're entertaining guests or simply treating yourself, these cake cups are sure to impress. Join me in creating a dessert that’s not only delicious but also visually stunning!
When I first made these Choco-Orange Dream Cake Cups for a family gathering, they quickly became the star of the dessert table. Everyone couldn't believe how the combination of rich chocolate and refreshing orange zest lifted the flavors to new heights. I learned that adding orange zest to chocolate desserts really enhances the chocolate flavor, making it more vibrant and exciting.
Another tip I found helpful is to let the chocolate cake cool completely before layering with the orange cream. This prevents the cream from melting and ensures a perfect presentation. Trust me, the look of these cake cups garnished with a sprig of mint is just as delightful as the taste!
Why You’ll Love This Recipe
- Rich chocolate flavor paired with fresh orange zest
- Creamy texture that melts in your mouth
- Perfect for celebrations or as a sweet indulgence
The Importance of Fresh Ingredients
Using fresh ingredients is key to achieving the best flavor in your Choco-Orange Dream Cake Cups, particularly the orange zest. Fresh zest contributes a vibrant, bright note that complements the chocolate beautifully. Avoid pre-packaged, dried zests, as they lack the essential oils that give citrus its aromatic potency. A good rule of thumb is to choose firm, bright oranges for zesting; these will yield the best flavor and fragrance.
Additionally, using high-quality cocoa powder can elevate the chocolate experience in your cake cups. Opt for Dutch-processed cocoa for a smoother, deeper chocolate flavor or natural cocoa for a more intense, slightly acidic taste. Experimenting with different cocoa varieties can personalize your dessert and enhance the taste profile.
Techniques for Perfect Texture
When preparing the Orange Cream Filling, achieving the perfect texture is crucial. Start by chilling the mixing bowl and beaters before whipping the cream; a cold environment helps stabilize the whipped cream, allowing it to hold its shape better. Look for soft peaks first, then gently fold in the powdered sugar and zest. If you notice it’s becoming overly stiff, stop beating immediately to prevent a grainy texture.
When assembling your cake cups, it's essential to create an even surface by trimming the tops of the cake cups. This allows for a beautiful presentation and helps the cream filling to sit flat without spilling. Don’t worry too much about precision—these are meant to be delightful treats, not perfectly sculpted desserts!
Make-Ahead and Storage Tips
If you're planning ahead, you can bake the cake cups a day in advance. Store them in an airtight container at room temperature to keep them moist. However, it’s best to fill them with the orange cream closer to serving time; this avoids the cake absorbing excess moisture and maintains both the texture and flavor of the filling. The whipped cream can also be prepared a few hours ahead and stored in the refrigerator; just give it a gentle rewhip if needed before filling.
For a fun variation, consider adding a splash of orange liqueur, like Cointreau, to the orange cream filling for an adult twist. This will enhance the orange flavor while adding an exciting layer of complexity. Just be sure to adjust the sugar level to balance the added sweetness from the liqueur!
Ingredients
Cake Cups
- 1 cup all-purpose flour
- 1 cup granulated sugar
- 1/2 cup unsweetened cocoa powder
- 1/2 cup unsalted butter, melted
- 2 large eggs
- 1/2 cup milk
- 1 tsp vanilla extract
- 1/2 tsp baking powder
- 1/2 tsp baking soda
- 1/4 tsp salt
Orange Cream Filling
- 1 cup heavy whipping cream
- 1/2 cup powdered sugar
- 1 tsp orange zest
- 1 tsp vanilla extract
For Garnish
- Orange slices
- Fresh mint leaves
Instructions
Preparation Steps
Bake the Cake Cups
Preheat the oven to 350°F (175°C). Grease a muffin tin and set aside. In a mixing bowl, combine the flour, sugar, cocoa powder, baking powder, baking soda, and salt. In another bowl, mix the melted butter, eggs, milk, and vanilla extract. Gradually add the wet mixture to the dry ingredients and stir until well combined. Pour the batter into the muffin tin and bake for 18-20 minutes or until a toothpick comes out clean. Allow them to cool completely.
Prepare the Orange Cream Filling
In a mixing bowl, beat the heavy whipping cream until soft peaks form. Gradually add the powdered sugar, orange zest, and vanilla extract, continuing to beat until stiff peaks form. Be careful not to overbeat.
Assemble the Cake Cups
Once the cake cups have cooled, carefully remove them from the muffin tin. Cut the tops off to create a flat surface. Spoon in the orange cream filling generously and smooth it out. You can also pipe it if desired.
Garnish and Serve
Top each filled cake cup with a slice of orange and a sprig of mint for an elegant touch. Chill in the refrigerator for at least 15 minutes before serving to set the cream!
Enjoy Your Dessert!
Pro Tips
- For an extra layer of flavor, consider adding a splash of orange liqueur to the cream filling. Also, ensure that all your ingredients are at room temperature for the best results.
Flavor Variations
To customize your Choco-Orange Dream Cake Cups, consider swapping the cocoa powder for alternatives. For instance, white chocolate cake with lemon zest can provide a unique flavor experience while maintaining a delectable cake cup texture. Altering the filling to include lemon curd instead of the orange cream will also create a delightful citrus balance without overpowering the cake's structure.
You can also explore the addition of spices, such as a hint of cinnamon or a dash of coffee in the chocolate batter, which can deepen the chocolate flavor while adding warmth. Just be cautious with the quantities; sometimes less is more when combining flavors.
Serving Suggestions
These Choco-Orange Dream Cake Cups shine when served with a side of fresh berries. Their tartness complements the sweet, rich cake nicely. Additionally, a drizzle of bittersweet chocolate sauce over the top can contrast beautifully with the orange cream filling and enhance the overall presentation.
For a festive touch, stack the cake cups on a tiered dessert stand, garnished with additional orange slices and mint leaves. This can make an eye-catching display at parties or gatherings. Serving them chilled not only improves the creamy texture but also allows the flavors to meld beautifully, creating a truly delightful dessert experience.
Questions About Recipes
→ Can I use dark chocolate instead of cocoa powder?
Yes! You can substitute cocoa powder with melted dark chocolate, which will make your cake cups even richer.
→ How long can I store these cake cups?
They can be stored in the refrigerator for up to 3 days. Just make sure to cover them tightly to prevent them from drying out.
→ Can I make these gluten-free?
Absolutely! Use a gluten-free flour blend in place of the all-purpose flour.
→ What other flavors can I use for the cream filling?
You can experiment with other citrus fruits like lemon or lime, or even try flavors like raspberry or strawberry for a twist!
Choco-Orange Dream Cake Cups
Created by: The Hazelsrecipes Team
Recipe Type: Desserts & Sweets
Skill Level: Beginner
Final Quantity: 12 cups
What You'll Need
Cake Cups
- 1 cup all-purpose flour
- 1 cup granulated sugar
- 1/2 cup unsweetened cocoa powder
- 1/2 cup unsalted butter, melted
- 2 large eggs
- 1/2 cup milk
- 1 tsp vanilla extract
- 1/2 tsp baking powder
- 1/2 tsp baking soda
- 1/4 tsp salt
Orange Cream Filling
- 1 cup heavy whipping cream
- 1/2 cup powdered sugar
- 1 tsp orange zest
- 1 tsp vanilla extract
For Garnish
- Orange slices
- Fresh mint leaves
How-To Steps
Preheat the oven to 350°F (175°C). Grease a muffin tin and set aside. In a mixing bowl, combine the flour, sugar, cocoa powder, baking powder, baking soda, and salt. In another bowl, mix the melted butter, eggs, milk, and vanilla extract. Gradually add the wet mixture to the dry ingredients and stir until well combined. Pour the batter into the muffin tin and bake for 18-20 minutes or until a toothpick comes out clean. Allow them to cool completely.
In a mixing bowl, beat the heavy whipping cream until soft peaks form. Gradually add the powdered sugar, orange zest, and vanilla extract, continuing to beat until stiff peaks form. Be careful not to overbeat.
Once the cake cups have cooled, carefully remove them from the muffin tin. Cut the tops off to create a flat surface. Spoon in the orange cream filling generously and smooth it out. You can also pipe it if desired.
Top each filled cake cup with a slice of orange and a sprig of mint for an elegant touch. Chill in the refrigerator for at least 15 minutes before serving to set the cream!
Extra Tips
- For an extra layer of flavor, consider adding a splash of orange liqueur to the cream filling. Also, ensure that all your ingredients are at room temperature for the best results.
Nutritional Breakdown (Per Serving)
- Calories: 380 kcal
- Total Fat: 26g
- Saturated Fat: 15g
- Cholesterol: 195mg
- Sodium: 85mg
- Total Carbohydrates: 32g
- Dietary Fiber: 3g
- Sugars: 24g
- Protein: 6g