Funfetti Graduation Layer Dream
Highlighted under: Desserts & Sweets
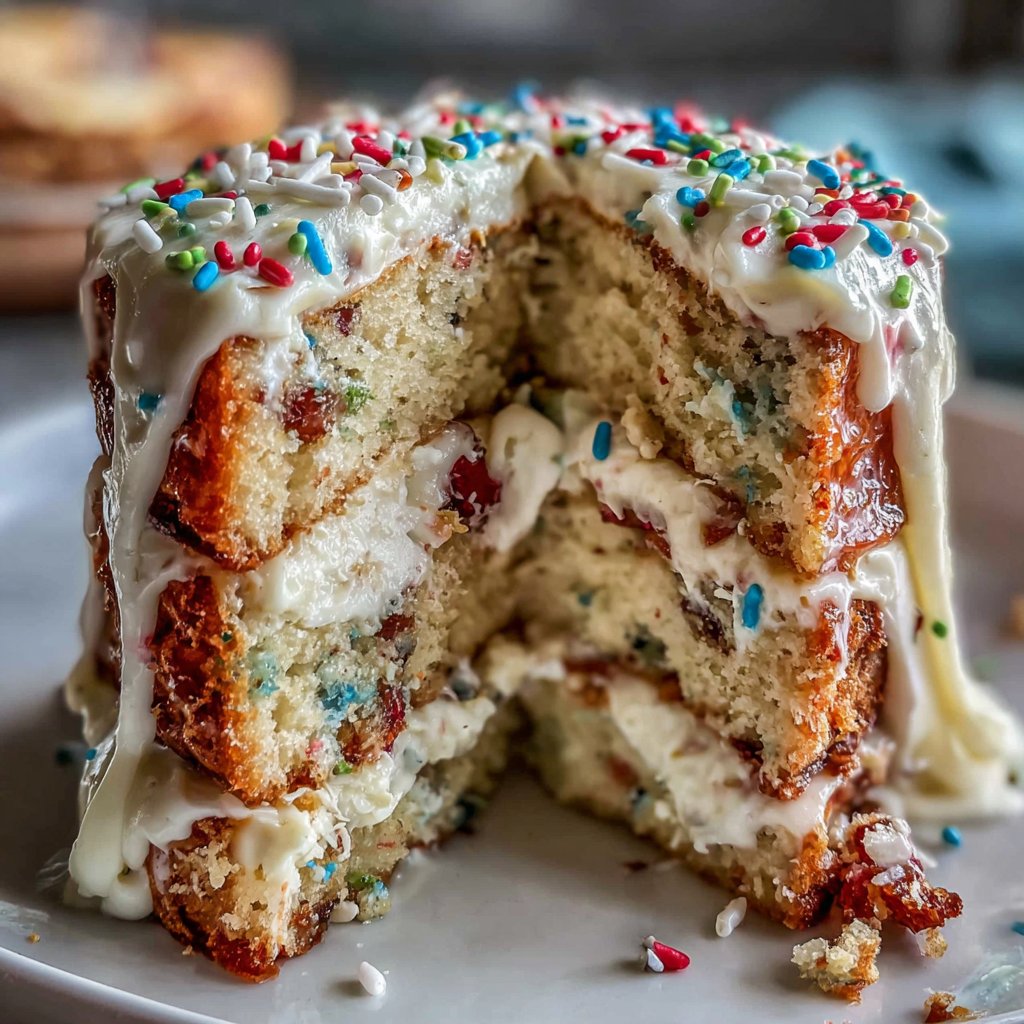
I love celebrating milestones with desserts that bring joy and vibrancy! This Funfetti Graduation Layer Dream cake is not only visually stunning but also bursting with flavor. With layers of fluffy vanilla cake, creamy frosting, and colorful sprinkles, it transforms any gathering into a festive occasion. I personally enjoy making this cake for graduations because it perfectly encapsulates the spirit of celebration. Each slice is a delightful surprise, making it a go-to dessert for special moments.
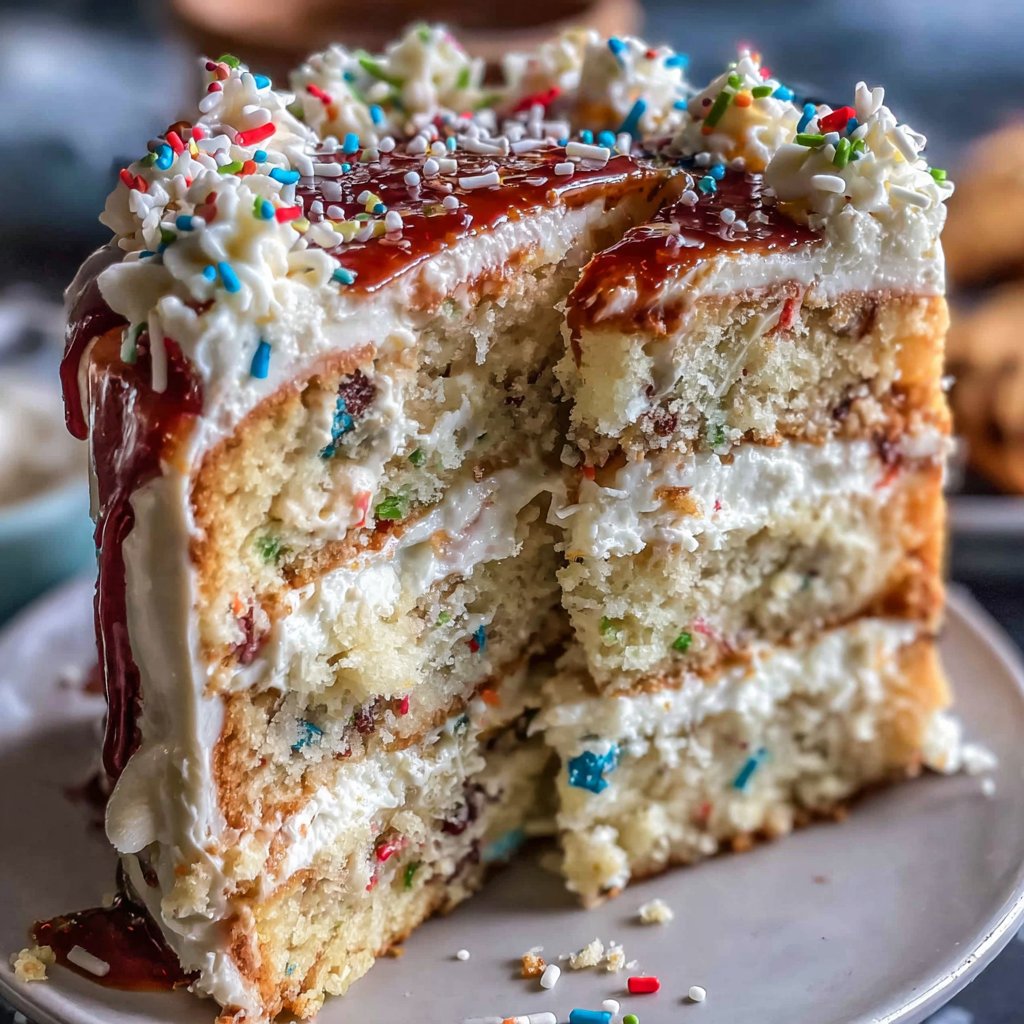
This cake has become one of my favorite recipes to share. The colorful sprinkles and layers of frosting not only make it look inviting but also create a delicious contrast of textures. After trying various methods for the cake, I've found that incorporating buttermilk adds a moistness that elevates the flavor significantly. It’s essential to let the cake cool completely before frosting to achieve the perfect finish.
One trick I've adopted is to use a serrated knife to level my cake layers. This simple step ensures that each layer is even, which makes assembly much easier and yields a professional-looking result. I love watching friends and family light up when they see the cake, and it makes every celebration feel extra special!
Why You Will Love This Cake
- Vibrant colors that brighten any occasion
- Moist and fluffy layers with a rich vanilla flavor
- Easy to customize with your favorite sprinkles and toppings
The Importance of Room Temperature Ingredients
Using room temperature ingredients is crucial for achieving the best texture in your Funfetti cake. When the butter and eggs are at room temperature, they incorporate more air during mixing, resulting in a fluffier cake. It also helps emulsify the batter evenly, preventing any unwanted clumps. To save time, take your butter and eggs out at least 30 minutes before you start baking, or even longer if your kitchen is particularly cool.
For the best results, gently warm your buttermilk if it’s cold from the fridge. This will keep all your ingredients uniformly at the same temperature, promoting a consistent batter that bakes evenly. A seamless mixture leads to a cake that rises beautifully with a tender crumb rather than a dense texture.
Tailoring Your Frosting
The vanilla frosting on your Funfetti cake is incredibly versatile. If you're looking for a fun twist, consider adding a splash of almond extract or even a bit of citrus zest to your frosting for a refreshing flavor contrast. Make sure to taste as you go — little adjustments can elevate the overall profile of the cake and tailor it to what you love.
If you find your frosting to be a bit too stiff for spreading, you can loosen it by adding additional heavy cream a tablespoon at a time until you achieve your desired consistency. Conversely, if it's too runny, add a little more powdered sugar to thicken it up. You want a fluffy texture that holds its shape but is still easy to spread!
Storing and Serving Your Cake
Once your Funfetti cake is assembled and frosted, it can be stored in an airtight container at room temperature for up to three days. If you need to keep it longer, refrigerate it, where it should last about a week. Just be aware that refrigeration can slightly dry out the cake, so take it out about 30 minutes before serving to bring back its softness.
For an impressive presentation, consider adding a scoop of ice cream on the side when serving. It contrasts nicely with the sweetness of the cake and the creaminess of the frosting. You can also garnish with fresh berries or mint leaves for added color and a refreshing bite that balances the sweetness.
Ingredients
For the Cake
- 2 ½ cups all-purpose flour
- 2 ½ tsp baking powder
- ½ tsp salt
- 1 cup unsalted butter, softened
- 2 cups granulated sugar
- 4 large eggs
- 1 tsp vanilla extract
- 1 cup buttermilk
- 1 cup rainbow sprinkles
For the Frosting
- 1 cup unsalted butter, softened
- 4 cups powdered sugar
- 2-3 tbsp heavy cream
- 1 tsp vanilla extract
- ½ cup rainbow sprinkles for decoration
Make sure to have all your ingredients measured and ready to go!
Instructions
Preheat the Oven
Preheat your oven to 350°F (175°C). Grease and flour three 9-inch round cake pans.
Mix the Dry Ingredients
In a medium bowl, whisk together the flour, baking powder, and salt.
Cream Butter and Sugar
In a large bowl, cream the softened butter and sugar until light and fluffy.
Add Eggs and Vanilla
Add the eggs one at a time, mixing well after each addition. Stir in the vanilla extract.
Combine the Mixtures
Gradually add the dry ingredients to the butter mixture, alternating with the buttermilk until well combined. Fold in the sprinkles.
Bake the Cakes
Divide the batter evenly among the prepared pans. Bake for 25-30 minutes or until a toothpick inserted comes out clean.
Cool the Layers
Let the cakes cool in the pans for 10 minutes before transferring to wire racks to cool completely.
Prepare the Frosting
In a mixing bowl, beat the softened butter until creamy. Gradually add powdered sugar and heavy cream, mixing until smooth. Stir in vanilla extract.
Assemble the Cake
Once the cakes are completely cool, spread frosting between each layer and cover the entire cake with the remaining frosting. Decorate with extra sprinkles.
Enjoy with family and friends as you celebrate!
Pro Tips
- For an added touch, consider layering fresh fruit or a flavored jam between the cake layers for extra flavor.
Key Techniques for Success
When it comes to baking, the technique you use to mix the batter can significantly impact the final texture. Cream the butter and sugar thoroughly until it’s light and airy; this step not only helps with flavor but also ensures a beautifully risen cake. Beat the mixture for at least 3-5 minutes to fully incorporate air, creating a fluffy base for your cake.
Another important technique for layering is to ensure that your cake layers are completely cooled before frosting. If you frost while warm, the frosting might melt and slide off. For quicker cooling, placing the cake layers in the fridge for about 15 minutes can hasten this process while also firming up the cakes, making them easier to handle.
Ingredient Substitutions
If you need a dairy-free option for this Funfetti cake, you can easily substitute the buttermilk with non-dairy milk mixed with a tablespoon of vinegar or lemon juice. Let it sit for about 5-10 minutes to curdle, mimicking the acidity of buttermilk. Also, coconut cream can stand in for the butter in frosting, providing a slightly tropical flavor while keeping it creamy.
For an egg-free version of the cake, consider using flax eggs (1 tablespoon of ground flaxseed mixed with 2.5 tablespoons of water per egg) which can provide structure and moisture. However, note that the texture may differ slightly and it may not rise as much as with traditional eggs. Always test small batches first if you're using a new ingredient.
Variations to Explore
Feel free to play around with flavors by infusing your cake batter. For example, swapping out some of the vanilla extract with pure almond or hazelnut extract can give your Funfetti cake a unique twist. Alternatively, adding a swirl of fruit preserves or chocolate ganache between layers can surprise your guests with delicious hidden flavors.
Don’t hesitate to adjust the frosting, either! Adding cocoa powder will give you a delightful chocolate frosting, while incorporating crushed fruit can lighten the flavor. Each variation opens up a delightful world of options that can make this recipe a repeating favorite with different flavors for any gathering.
Questions About Recipes
→ Can I make this cake in advance?
Yes, you can bake the cake layers a day ahead and store them in an airtight container in the fridge.
→ What if I don’t have buttermilk?
You can substitute buttermilk by mixing 1 cup of milk with 1 tablespoon of vinegar or lemon juice and letting it sit for 5 minutes.
→ How can I make this cake gluten-free?
Use a 1:1 gluten-free baking flour blend in place of all-purpose flour.
→ Can I freeze this cake?
Yes, the cake can be frozen for up to 2 months. Wrap it tightly in plastic wrap and then aluminum foil.
Funfetti Graduation Layer Dream
Created by: The Hazelsrecipes Team
Recipe Type: Desserts & Sweets
Skill Level: Intermediate
Final Quantity: 10 servings
What You'll Need
For the Cake
- 2 ½ cups all-purpose flour
- 2 ½ tsp baking powder
- ½ tsp salt
- 1 cup unsalted butter, softened
- 2 cups granulated sugar
- 4 large eggs
- 1 tsp vanilla extract
- 1 cup buttermilk
- 1 cup rainbow sprinkles
For the Frosting
- 1 cup unsalted butter, softened
- 4 cups powdered sugar
- 2-3 tbsp heavy cream
- 1 tsp vanilla extract
- ½ cup rainbow sprinkles for decoration
How-To Steps
Preheat your oven to 350°F (175°C). Grease and flour three 9-inch round cake pans.
In a medium bowl, whisk together the flour, baking powder, and salt.
In a large bowl, cream the softened butter and sugar until light and fluffy.
Add the eggs one at a time, mixing well after each addition. Stir in the vanilla extract.
Gradually add the dry ingredients to the butter mixture, alternating with the buttermilk until well combined. Fold in the sprinkles.
Divide the batter evenly among the prepared pans. Bake for 25-30 minutes or until a toothpick inserted comes out clean.
Let the cakes cool in the pans for 10 minutes before transferring to wire racks to cool completely.
In a mixing bowl, beat the softened butter until creamy. Gradually add powdered sugar and heavy cream, mixing until smooth. Stir in vanilla extract.
Once the cakes are completely cool, spread frosting between each layer and cover the entire cake with the remaining frosting. Decorate with extra sprinkles.
Extra Tips
- For an added touch, consider layering fresh fruit or a flavored jam between the cake layers for extra flavor.
Nutritional Breakdown (Per Serving)
- Calories: 380 kcal
- Total Fat: 26g
- Saturated Fat: 15g
- Cholesterol: 195mg
- Sodium: 85mg
- Total Carbohydrates: 32g
- Dietary Fiber: 3g
- Sugars: 24g
- Protein: 6g